 |
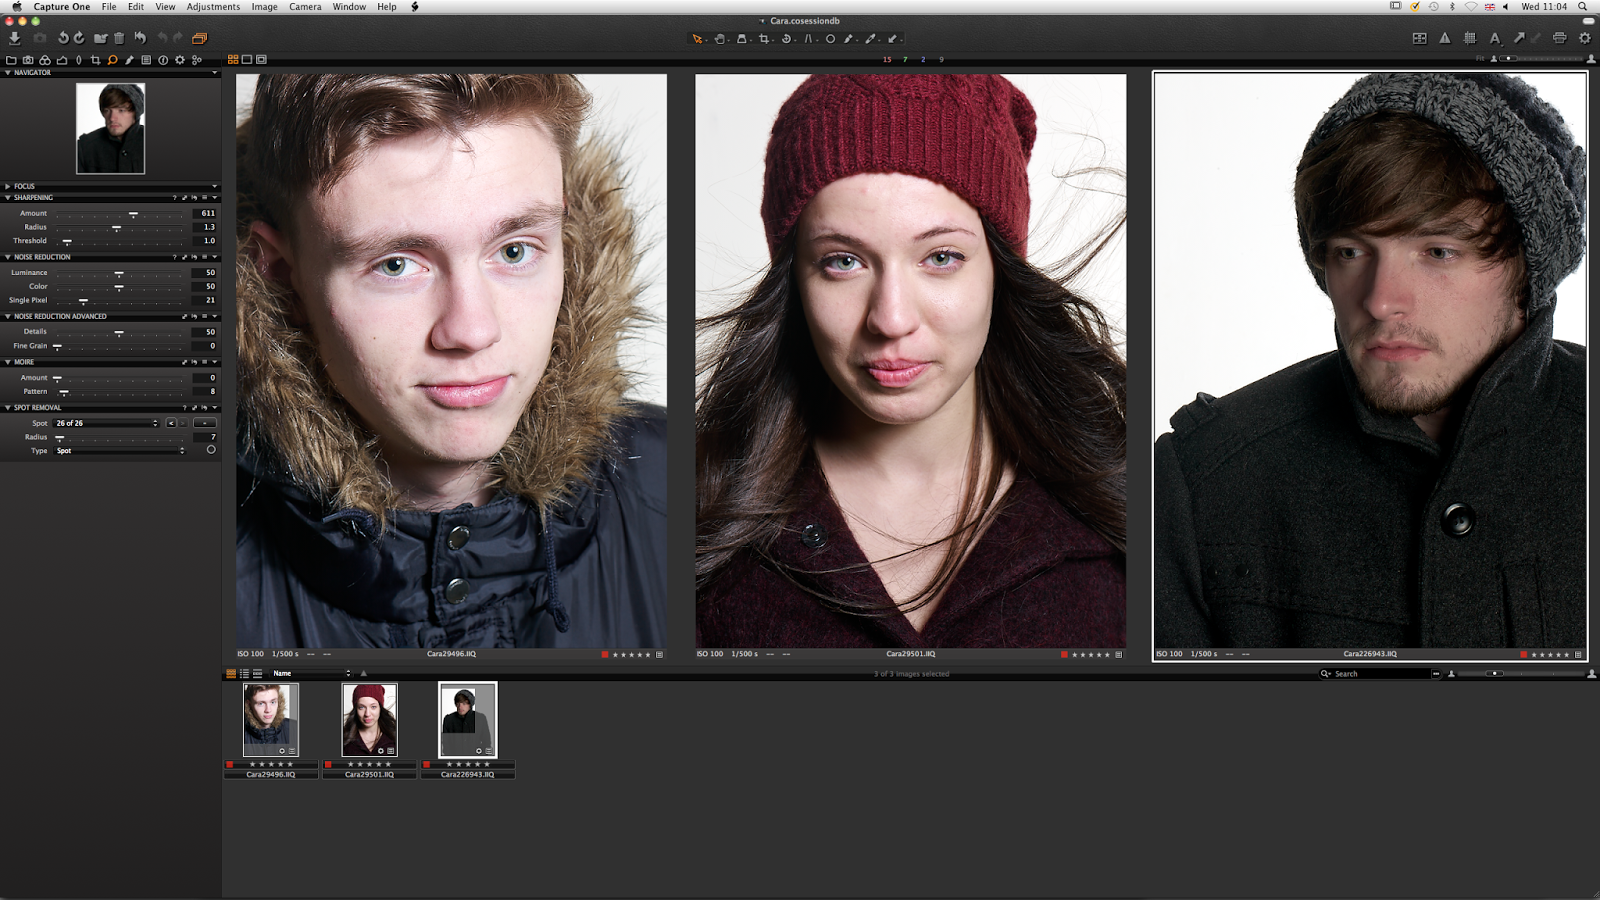
| Capture One user interface |
For my session that I have created for this project I imported all the RAW files from each shoot so that I can compare them together on the screen
(see above)
At first when I was sorting the files out I five starred each image that was successful but as I narrowed down my choice of final images I removed the fifth star from each one that is not in my final selection (this is so that I can still compare them by using the "Smart Album" system to view four star and higher rated images)
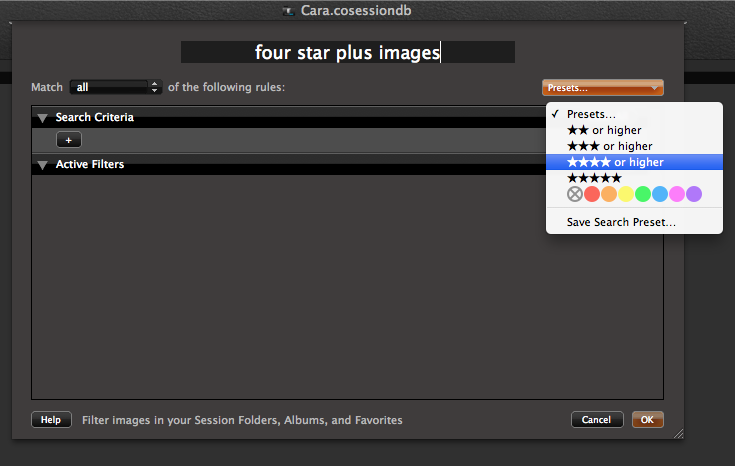 |
| Smart Album pop up window |
I then sharpened all of my final images so that the detail was clear and sharp, but not over sharpened so that they look "crunchy"
(as my tutor described it)
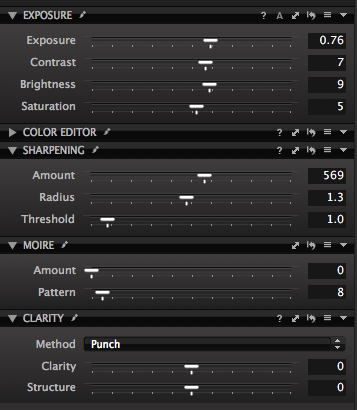 |
| Some of the tools available |
These tools are only a small selection of the ones available however these are the main ones I used for this project. I changed the exposure slightly as not all of the images had the same exposure so I changed it to make them feel more like a set, I also changed the brightness and saturation on one of the images to remove a slight magenta cast, however I was struggling with doing this until I was shown how to use the white balance tool
(this worked so much easier than what I was doing - not surprisingly!)
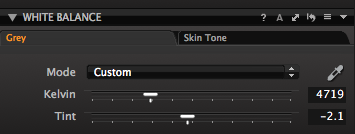 |
| White Balance slider |
No comments:
Post a Comment